Ready to Wear Your Vibe? Your E-Ink Patch Journey Starts Here!

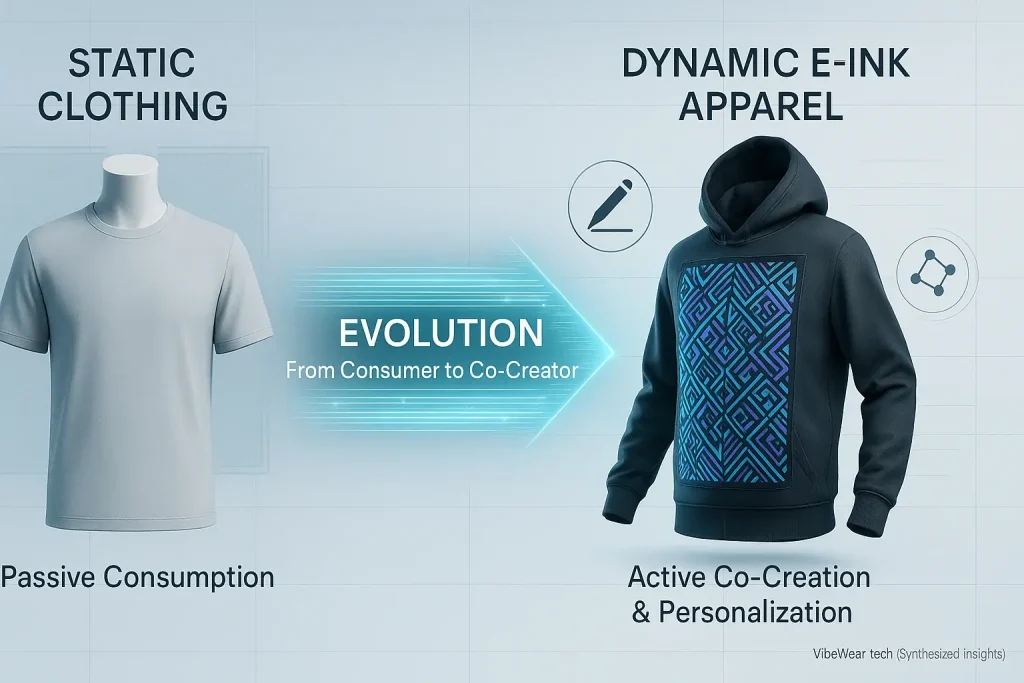
Dream of creating wearable tech? Your hands itch to build. This E-Ink patch project is that perfect start. It delivers a fast, satisfying win for every maker. See your ideas become reality.
This project unlocks E-Ink's core principles. You quickly grasp microcontroller functions. Basic wearable integration becomes surprisingly clear. This is your gateway. More advanced adaptive clothing is next. The satisfaction of a self-made, glowing patch? Unbeatable.
Our guide details each step. We cover materials. Assembly becomes straightforward. Basic code? We make it simple. We even share troubleshooting secrets. Ready to build your vibe? Let's go.
Gather Your Gear: Essential Materials for Your E-Ink Patch
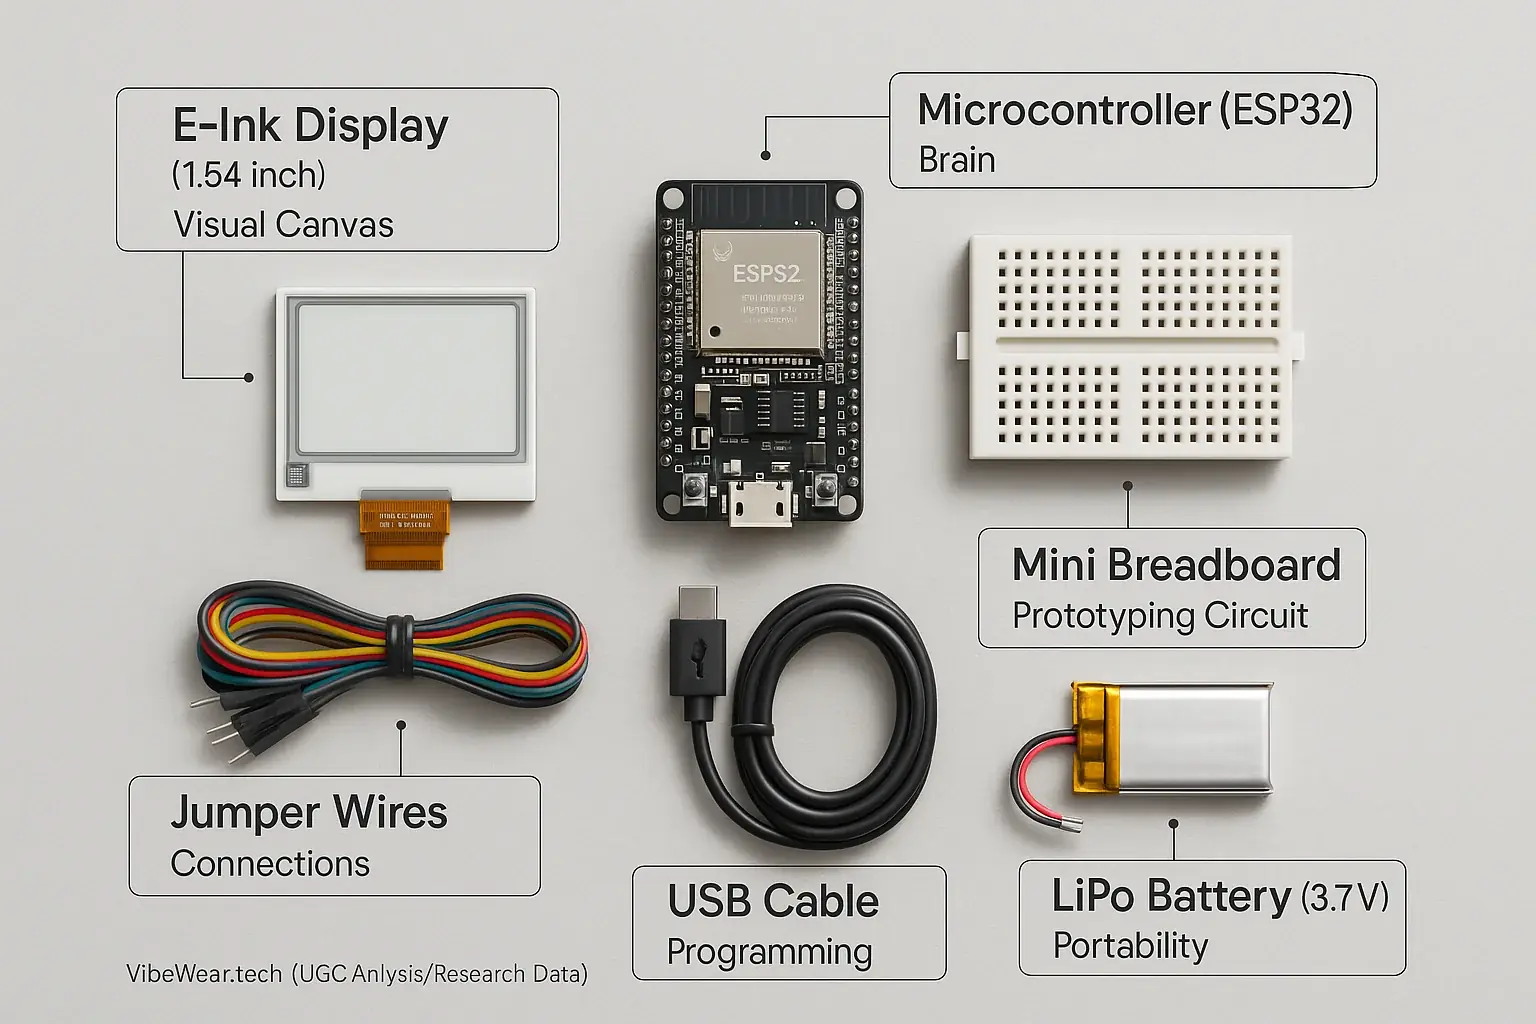
Gathering correct tools starts your e-ink journey. These parts are surprisingly accessible. They unlock your entry into creating personal tech fashion.
- Small E-Ink Display Module (e.g., 1.54 inch, 2.13 inch): This is your visual canvas. Select a module featuring a crisp display. It should include a compatible driver board for easy integration.
- Microcontroller Board (e.g., ESP32, Arduino Nano, ESP8266-based): This board acts as the patch's brain. It processes information. It directs the e-ink display's changes. Consider popular options like ESP32 for robust performance.
- Jumper Wires: Jumper wires connect components. No soldering is needed for initial setups. They are perfect for prototyping your e-ink designs quickly.
- Mini Breadboard: A breadboard simplifies connections. Use it for temporary circuits. No permanent bonds mean easy layout experiments for your patch.
- USB to Micro-USB/USB-C Cable: This cable programs your microcontroller. It also provides initial power during development stages. Ensure it matches your chosen microcontroller's specific port type.
- Small Lithium-Ion Battery (e.g., LiPo 3.7V) & Charger Module (optional for portability): A battery makes your patch truly portable. This is for untethered use after initial testing. A common LiPo 3.7V offers a good balance of size and power. A dedicated charger module keeps your battery project-ready.
Wiring Your Vibe: Step-by-Step Hardware Assembly
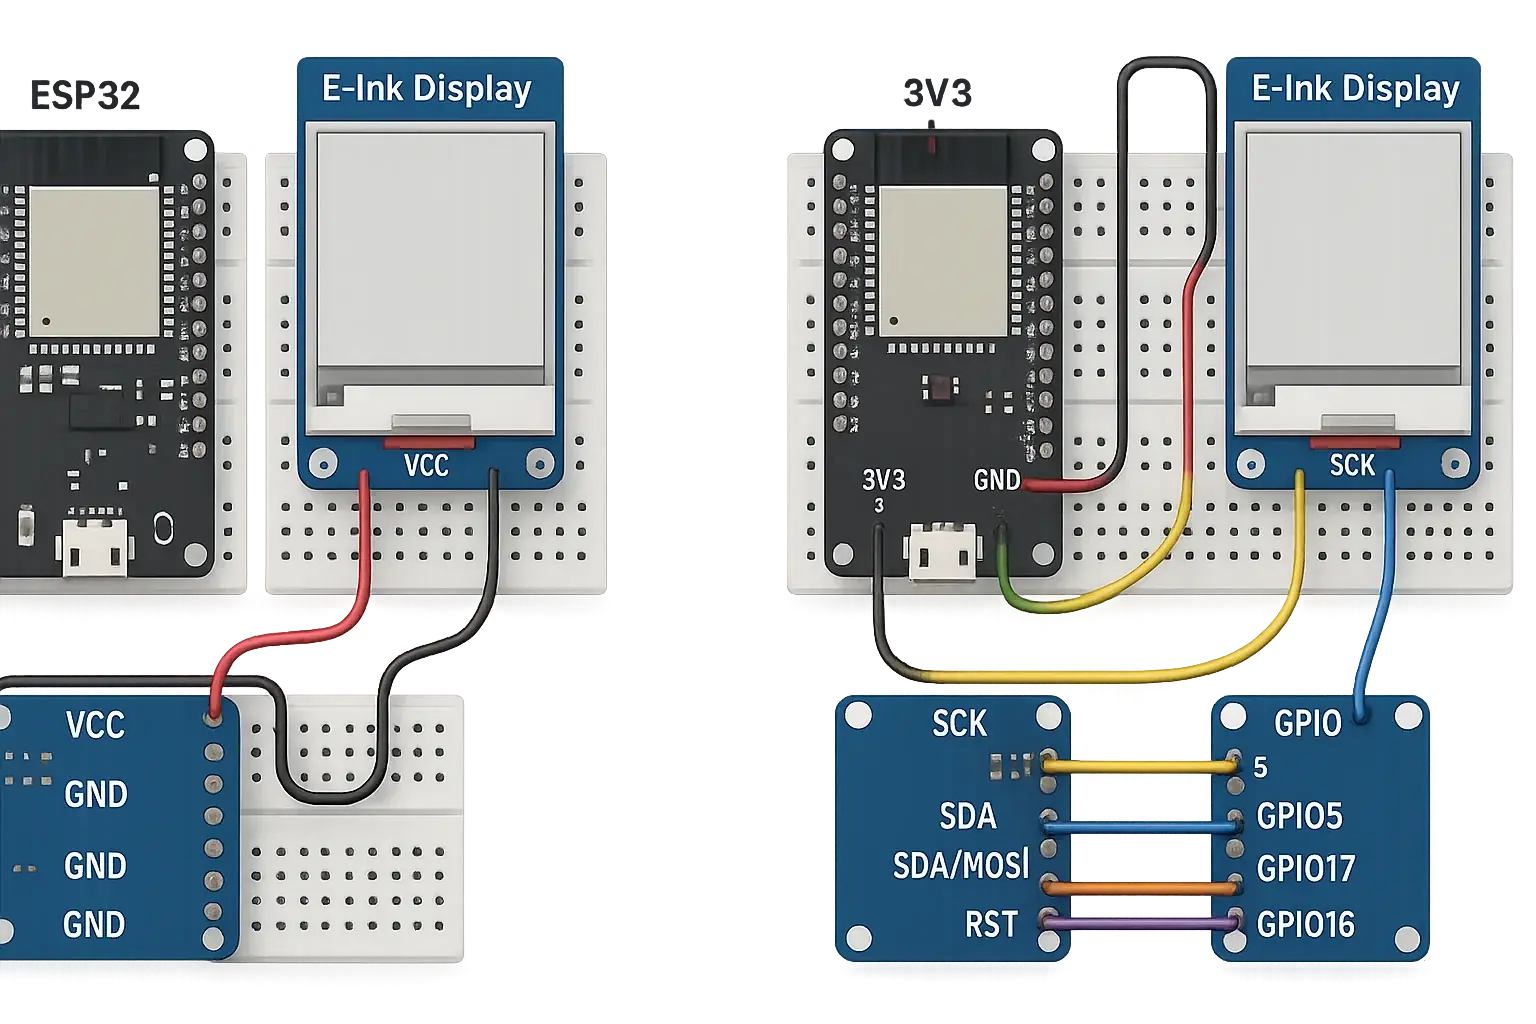
This hardware assembly forms the project's physical core. Your precise wiring breathes life into your VibeWear. Methodical connection is key to a working display.
-
Components ready? Gather your E-Ink display. Also, grab your microcontroller unit. Some displays and microcontrollers ship with separate pin headers. If yours did, gently press these headers into your breadboard first. This step simplifies all following wire placements significantly.
-
Power first. Always. Find the VCC pin on the E-Ink display. Connect this VCC pin to your microcontroller’s 3.3V output. Next, locate the display's GND (Ground) pin. Link this GND pin to a GND pin on the microcontroller. Accuracy here is vital. Double-check polarity; wrong connections can damage your sensitive electronics.
-
Time for data pathways. These SPI pins handle all communication for the display. Connect the display's SCK (Serial Clock) pin to the microcontroller's SCK pin. Link the display’s SDA (Serial Data, often MOSI) pin to the microcontroller’s MOSI pin. The display's DC (Data/Command), RST (Reset), and CS (Chip Select) pins are next. These connect to any available digital I/O pins on your microcontroller. Note your choices. Which digital pins did you use? You will need these specific pin assignments for the software setup.
-
Almost done. Verify everything. Take a moment. Look over each wire. Is every connection pushed in firmly? No loose wires? No wobbly bits? A quick, thorough check now saves hours of later troubleshooting. Solid connections are essential for reliable operation.
Bringing Pixels to Life: Uploading Your First E-Ink Code

Code breathes life into your E-Ink patch. This is the true magic. Even simple commands create powerful visual statements, transforming fabric into a dynamic canvas.
First, download your chosen development software. The Arduino IDE is a common start for many. VS Code with PlatformIO offers more advanced features. Next, install the correct board drivers for your microcontroller. This step is absolutely crucial. Then, add the specific E-Ink display libraries your patch requires. The setup phase can feel like a maze. Trust us. It is often the biggest hurdle for newcomers. Get past this initial challenge. The creative fun truly begins!
Basic E-Ink code follows a clear, logical pattern. Your program first initializes the display, preparing it for commands. It then typically sets a font and position for text. The code then draws your desired text or simple graphics onto the display's memory buffer. Finally, a command refreshes the actual E-Ink screen to show these changes. We have prepared a simple 'Hello Vibe!' sketch for you to copy. You can find this example on VibeWear.tech's resource section. Key lines often include display setup commands, font selection, defining content, and the screen update function.
Uploading your new code is the exciting next step. Select your specific microcontroller board within the IDE's tools menu. Then, choose the correct communication port your computer assigned to the board. Now, click the upload button. Your IDE will compile the code. It then sends the program to the microcontroller. Watch for an 'Upload Complete' or similar success message. Done! Your E-Ink patch should now display 'Hello Vibe!', confirming everything works.
When the Vibe Fades: Troubleshooting Common E-Ink Patch Issues
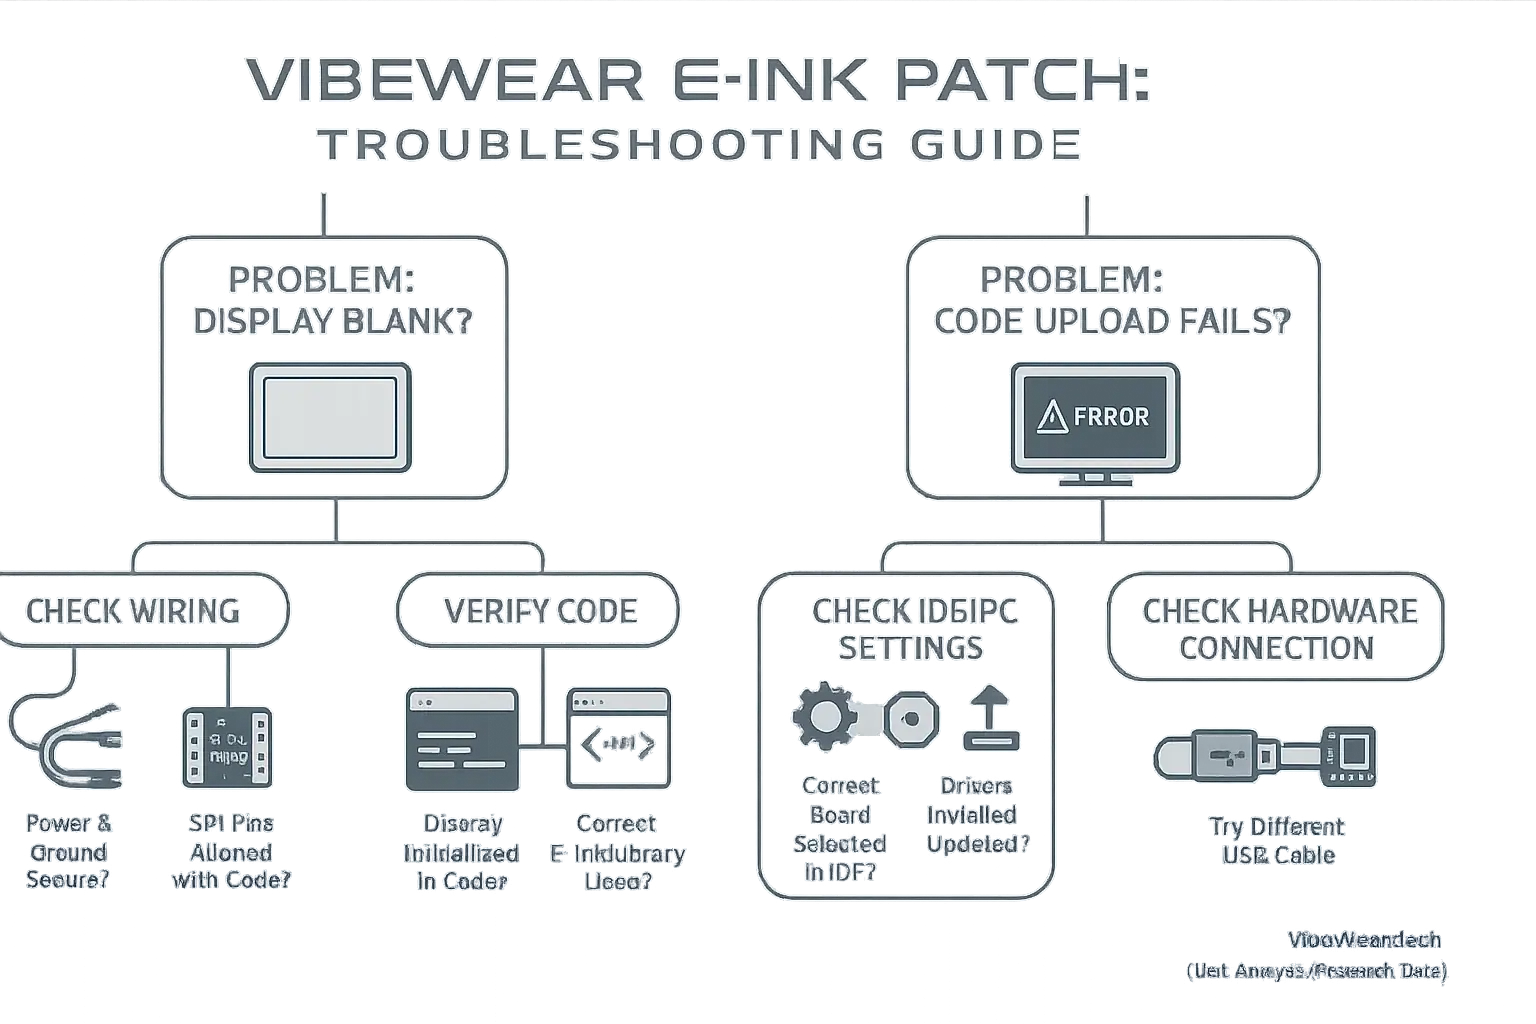
Your E-Ink patch project hits a snag. It happens. Troubleshooting is a core part of the creative maker journey. Most issues are surprisingly simple to fix.
A blank E-Ink display is common. Many makers initially see nothing. The usual culprit? A wiring mistake. Double-check all power and ground connections. Verify your SPI pins align with your code. Your code also needs to initialize the display. Ensure it explicitly calls the display's startup routine. Finally, confirm your code uses the correct library for your specific E-Ink model.
Code upload errors can halt progress. These often point to IDE settings. Is the correct board selected in your development environment? Check the COM port too. Your computer needs the right drivers for the microcontroller. Here's an insider tip: sometimes the USB cable itself is faulty. Try a different one if your board isn't recognized or upload fails. A non-responsive microcontroller might also suggest an incorrect boot mode, though this is less frequent than driver or cable problems. A damaged board is rare.
Does your display flicker? Or show only partial updates? This often indicates power problems. Your E-Ink panel needs sufficient, stable current. Verify your power source meets the display's requirements. Timing issues in your code can also cause visual glitches. Look at your E-Ink refresh rate settings; too fast can sometimes be problematic for certain panel and microcontroller combinations.
Beyond the Basics: Customizing Your E-Ink Patch & Next Steps

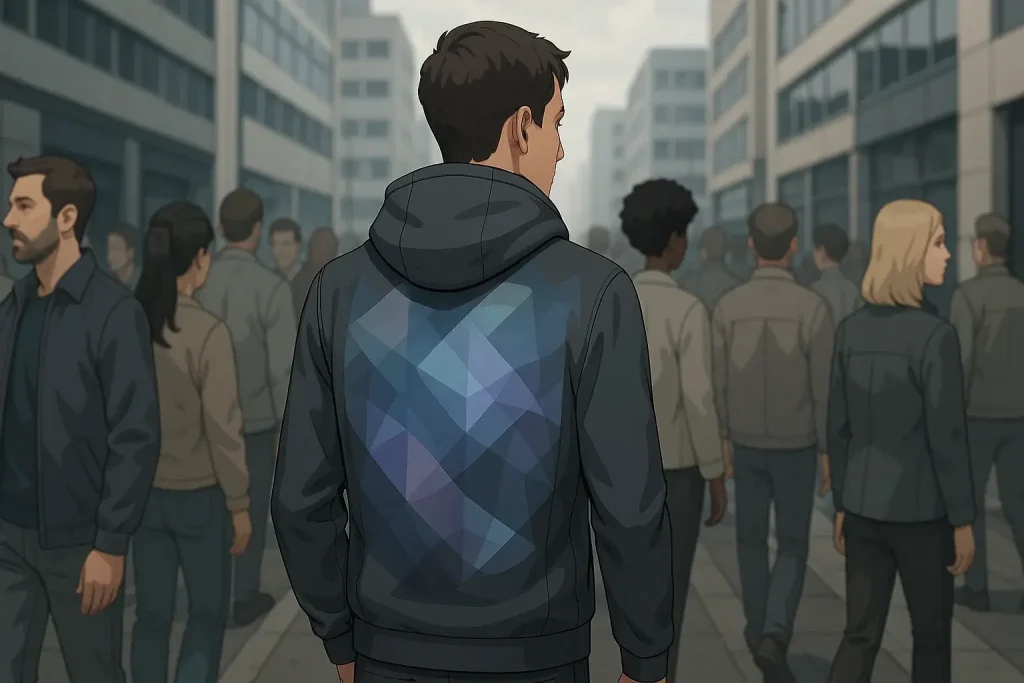
You built your first E-Ink patch. Amazing. Now, the real fun begins: customization. This is where your unique voice truly starts to animate your apparel. Your patch becomes a personal statement. It’s your canvas.
Think beyond static displays. Change the text. Update patterns. Consider simple animations. Integrating it into clothing is straightforward. Basic sewing skills work. Fabric adhesives offer another option. We've seen makers turn these simple patches into dynamic name tags for conventions. Others create animated pixel art on backpacks. Some even fashion subtle mood indicators on a sleeve. What will you make?
This project opens doors. It’s a vital stepping stone. More complex mood-adaptive wearables await your skill. You can program intricate patterns. You can integrate biometric sensors for true responsiveness. Explore advanced components. Here's a secret: once you master this basic patch, the jump to full mood-adaptive clothing isn't as huge as it seems. It's all about building on these core skills. You are closer than you think.
Share your creations. The VibeWear community thrives on shared inspiration. Your project, big or small, can spark an idea for someone else. This collective innovation pushes the boundaries of expressive tech. Let's see what you’ve imagined. Let's build the future of fashion. Together.